Getting your old school Atari 2600 to work on modern day TVs or your computer is not as easy as you think. I though ‘plug it in, turn it on’, and then I’d be playing Berzerk in no time. Not quite, But I did it get working and i thought it would be handy information to share with the www.
I picked up the Atari 2600 from a friend that was throwing it out. Good score as they are not cheap to pick up from Ebay these days. Unfortunately it was not an orginal wood grain unit but the later released black edition.
I must admit I did not spend too much time connecting it up to a TV – everything that I read suggested it would not work and that it would be better to get a A/V mod so you’d have RCA connectors out of the 2600. Too much work but certainly an option if I didnt have success with anything else.
I wanted it to work with my TV tuner which is a Winfast DTV1000T. From when I read forget the A/V inputs – you cannot convert RF to A/V (for a technical explanation why ask Google). So the other option was the RF (or TV aerial in ) connection. I connected it up but the card would not allow me to search and find channels. The Atari 2600 uses (here in Australia anyway) VHF channel 2 or 3. The channels are programmed into the Winfast based on your location selection.
I found an older card where I did have more freedom to scan channels – that being the Winfast TV2000 Expert. I selected the auto scan and it found the 2600 quite quickly. The picture was pretty good with only a little bit of static. ‘Awesome’ I thought but my joy was shortlived – no sound.
I checked the TV tuner card settings as I had not used the card for a while and couldn’t remember how I set it up originally, but it checked out all good. Back to the search engines on the www….
Mmmm found a solution but it involved opening the unit up and retuning the variable inductor for the audio circuit. What have a got to lose?
Anyway, here’s what I did:
(these instructions below are only a guide. I take no responibility for any damage caused to you, the Atari 2600 or anything else caused by the below)
Turn the console upside down and you will find it held together by 4 screws. Grab a philips head screwdriver and undo them.
The console should come apart quite easily, with the circuit board held to the upper half of the case with 3 hooks. It will just require a bit of a wiggle and movement in every direction to release it.
The is what mine looks like:

With the circuit board removed, ensure that it is not placed on a electrical conductive/metal surface. Place it on a cardbox box or newspaper.
The inductor is located in the little hole on the large the metal shield. If you wanted to remove it, there are four tabs located around it that just have to be turned slightly with long nose pliers to straighten them up. Once the tabs are straight, the metal cover should lift up quite easily.
With the metal cover off, this is what the circuit board looks like (the inductor is the vertical red ‘tube’ – on some Ataris it is mounted horizontally):

To turn it you will need a small hexagonal tool (or Allen key). With the game on, insert it into the screw located in the in the ‘tube’ and turn it slightly in either direction until you hear sound. Remember how many turns you do just in case you have to return the screw inside to its original position.
If you’re lucky and followed the above instructions you hopefully should now have quality 8 bit sound along with retro graphics on your PC monitor screen.

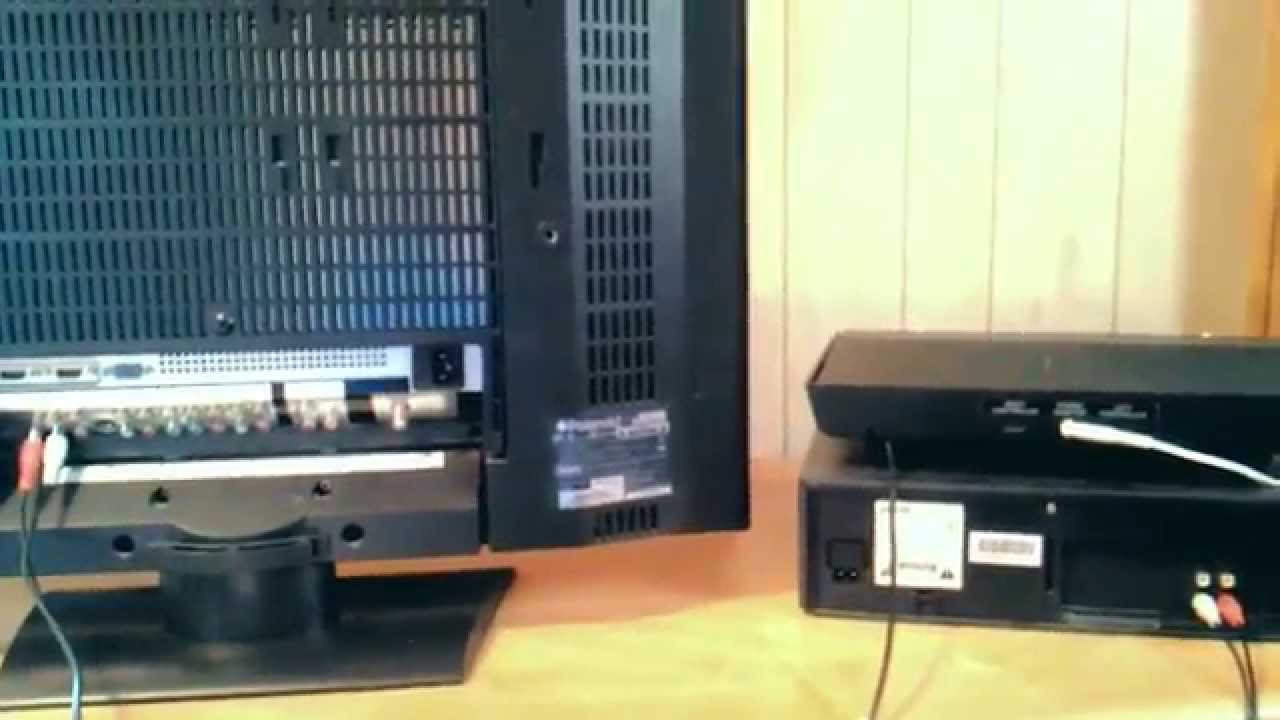
Another way to do it is shown and is easier requiring no disassembly of the Atari:


Further to that, you can connect your VCR to a TV via HDMI using this adaptor.
Enjoy!